How to disassemble or change variator, belt, rollers of the Kymco AK 550 ?
- Ratchet or torque wrench with sockets
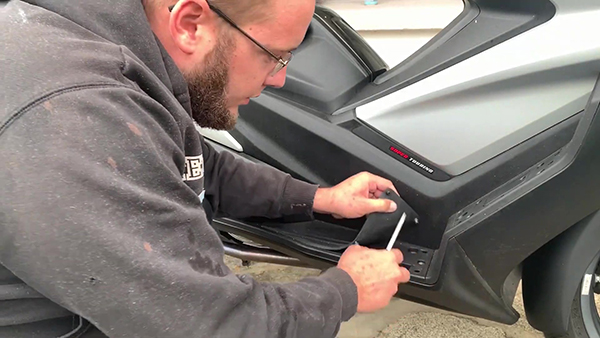
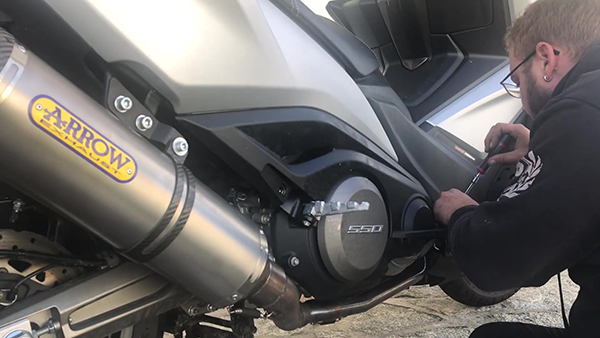
Dismantle the footboard
First of all, the footboard is dismantled by unscrewing all the fixing screws that hold it in place.
Remove the air filter from the CVT housing.
Once the step is removed, access to the CVT housing is facilitated. Therefore, the air filter must be removed first.
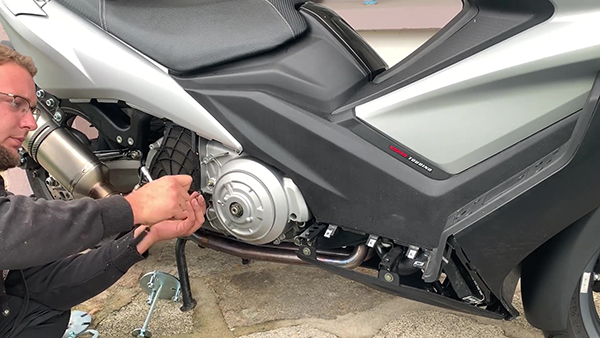
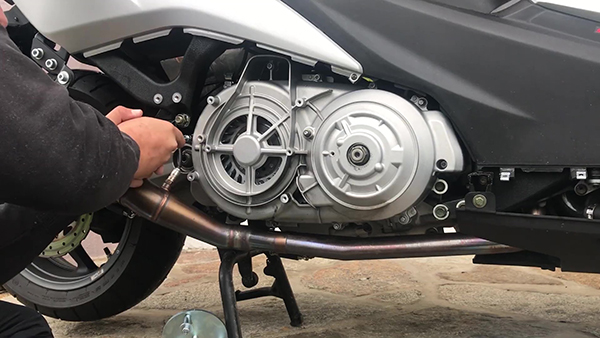
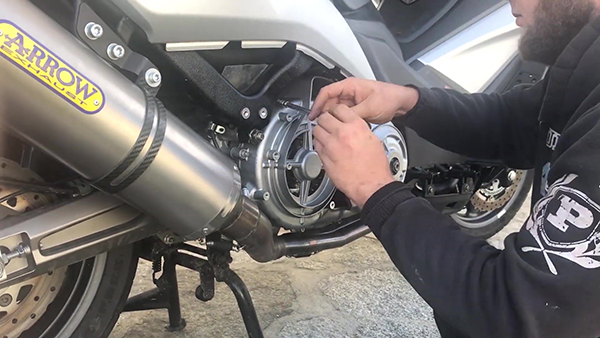
Dismantle the CVT housing
The CVT housing is finally accessible, so all the screws holding it in place must be removed to gain access to the variator.
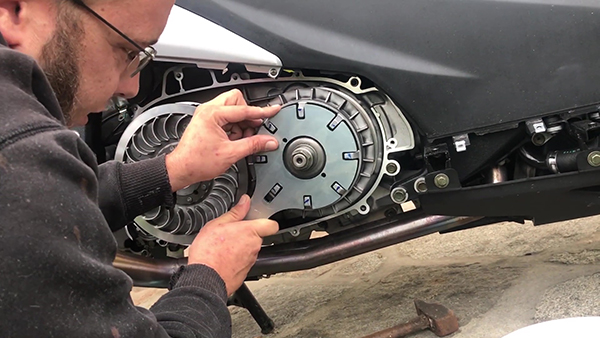
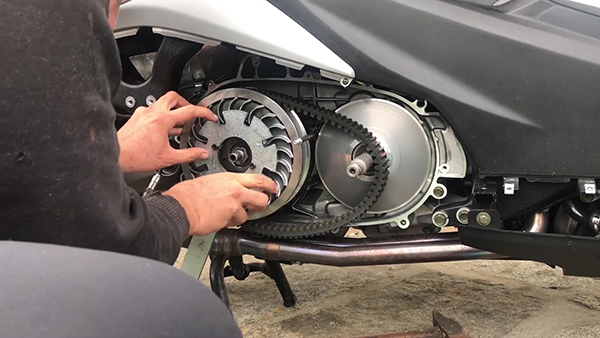
Removing the variator from the Kymco AK 550
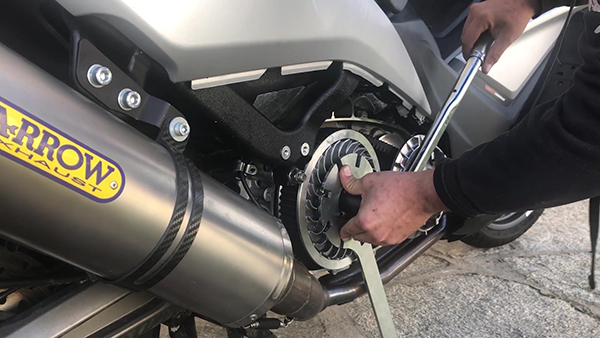
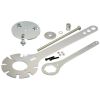
To dismantle the variator easily and without damaging it, the Easyboost variator wrench must be provided and then placed as shown in the photo so that it can be locked.
Loosen the variator nut on the Kymco AK 550
Using a pawl with a 23 mm bushing, the variator nut can be loosened.

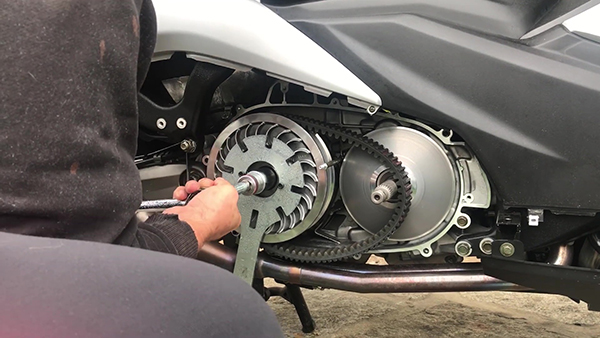
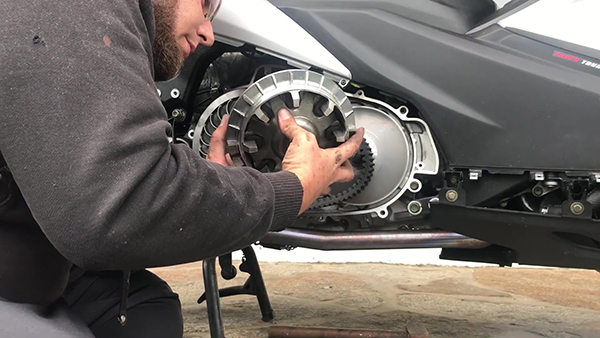
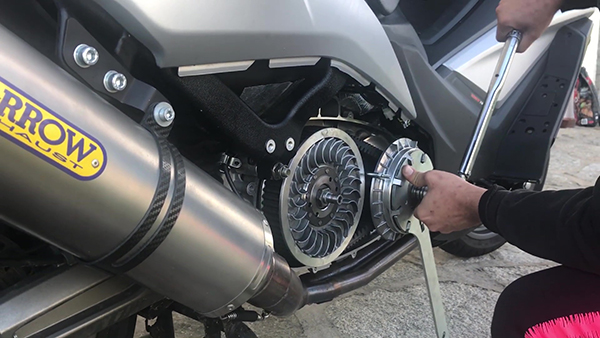
Remove the torque drive from the Kymco AK 550
To remove the torque drive, 2 screws and 4 M6 nuts must be placed on the multi-purpose wrench. This configuration allows the torque drive to be locked to loosen the nut holding it.
Loosen the nut on the torque drive of the Kymco AK 550
Using a pawl equipped with a 27 "long" bushing, the nut of the torque drive can be loosened.
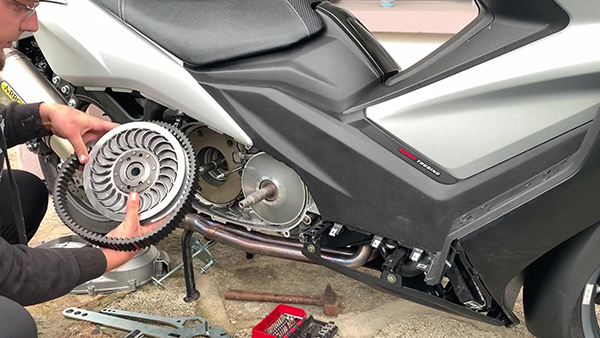
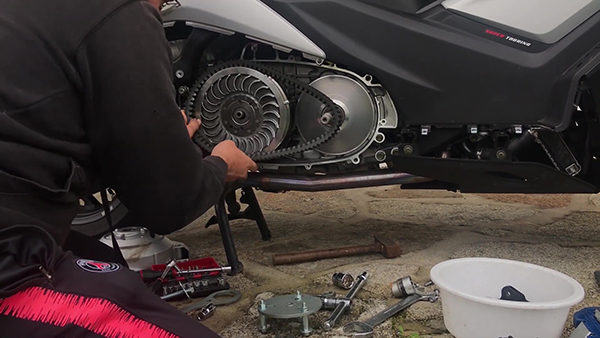
Remove the belt from the Kymco AK 550
Once the torque drive is fully off its axis, the belt is easily extended. However, care must be taken not to pinch your fingers.
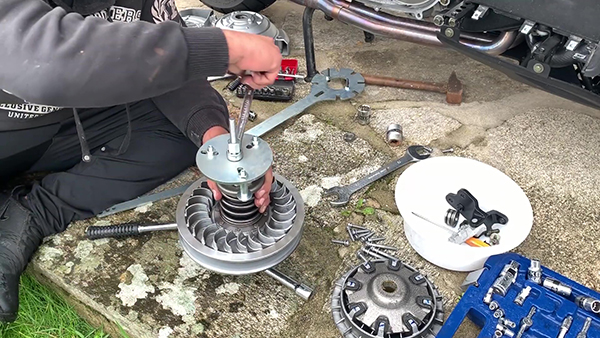
Dismantle the Kymco AK 550 thrust spring
To dismantle the thrust spring, the Easyboost lock wrench must be placed so as to hold the torque drive in place. A mark must first be made on the nut and cup so that it can be tightened in the same position. Using the second Easyboost wrench, the nut must be loosened by 1/4 turn only.
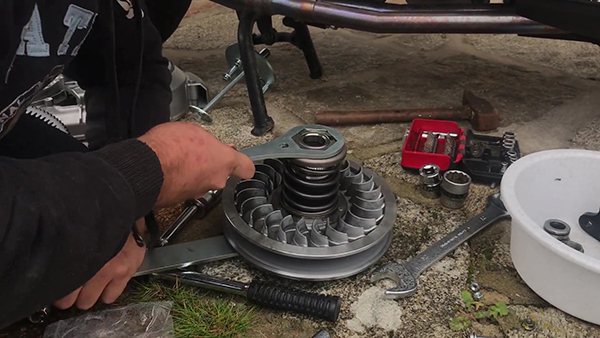
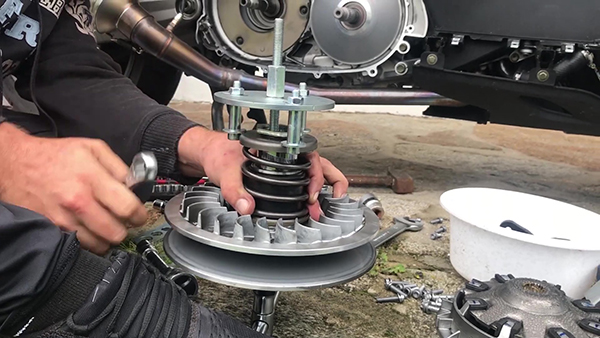
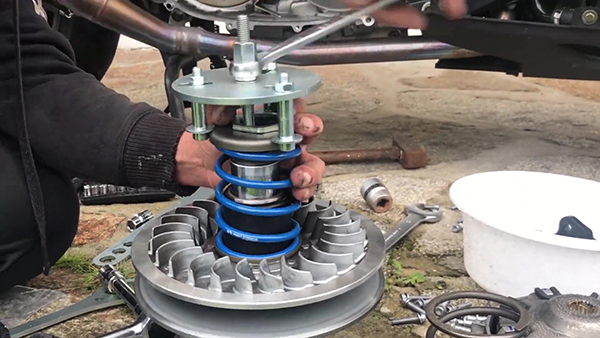
Lock the thrust spring
The Easyboost thrust spring removal tool is then placed in order to block the spring trigger. WARNING, as the spring plate is already in the stop position, do not try to compress the spring, as this may cause the plate to bend.
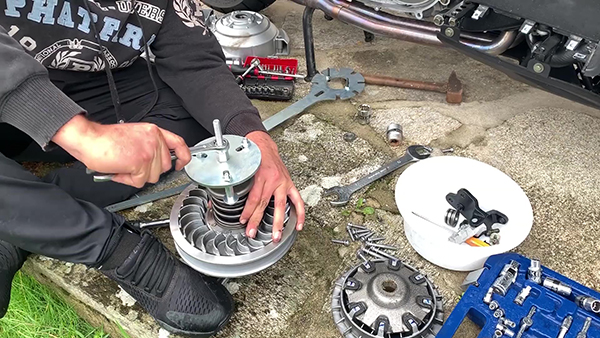
Unscrew the nut of the torque drive
With the spring held by the locking tool, the nut of the torque drive can now be unscrewed by hand.
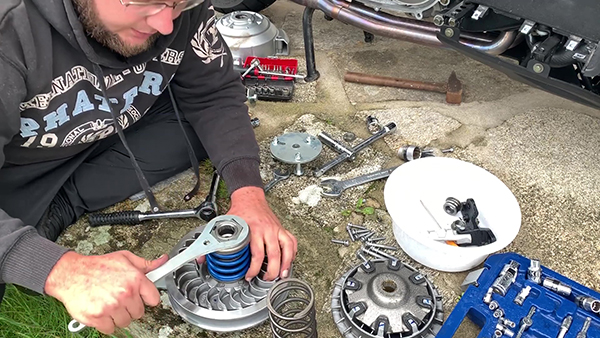
Release the thrust spring
Once the torque drive nut has been completely unscrewed, the spring can be released gradually and safely by unscrewing the axle nut.
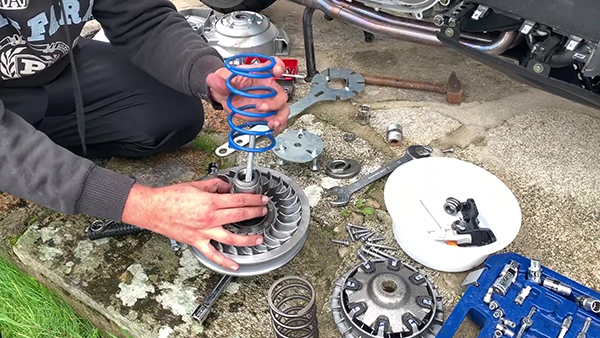
Changing the Kymco AK 5550 thrust spring
The spring is fully relaxed, so it can be safely removed and replaced with a harder spring to gain more torque.
Mount the thrust spring
Now it is a question of proceeding to the reverse of dismantling. The Easyboost thrust spring locking tool is put back in place and then the spring is compressed by screwing the axle nut until it reaches the stop.
Tighten the nut of the torque drive
Using the two Easyboost wrenches, tighten the nut of the torque drive until the 2 marks drawn above are aligned.
Install the belt and the torque drive
When the torque drive is reassembled, it can be put back on its axis while inserting the belt between the two flanges.
Mounting the variator
It is now possible to reassemble the variator on its axis, having first replaced the rollers if necessary.
Tighten the nut of the torque drive to the torque recommended by the manufacturer
Using the Easyboost wrench and a torque wrench with a 27 "long" socket, tighten the nut of the torque drive to a torque of 90 N.m.
Tighten the variator nut to the torque recommended by the manufacturer
Using the Easyboost wrench and a torque wrench with a socket of 23, tighten the nut of the torque drive to a torque of 84 N.m.
Install the CVT housing
Now you can reassemble the variation housing with its air filter.
Reassembly of the footboard
All that's left to do is to go up the footboard. The operation is over.
For more details, we invite you to watch the YouTube tutorial video made by one of our customers:
Gabriel Leroy
02/11/2020 12:54:37
Changement des galets opéré sans souci grâce à votre video, merci !